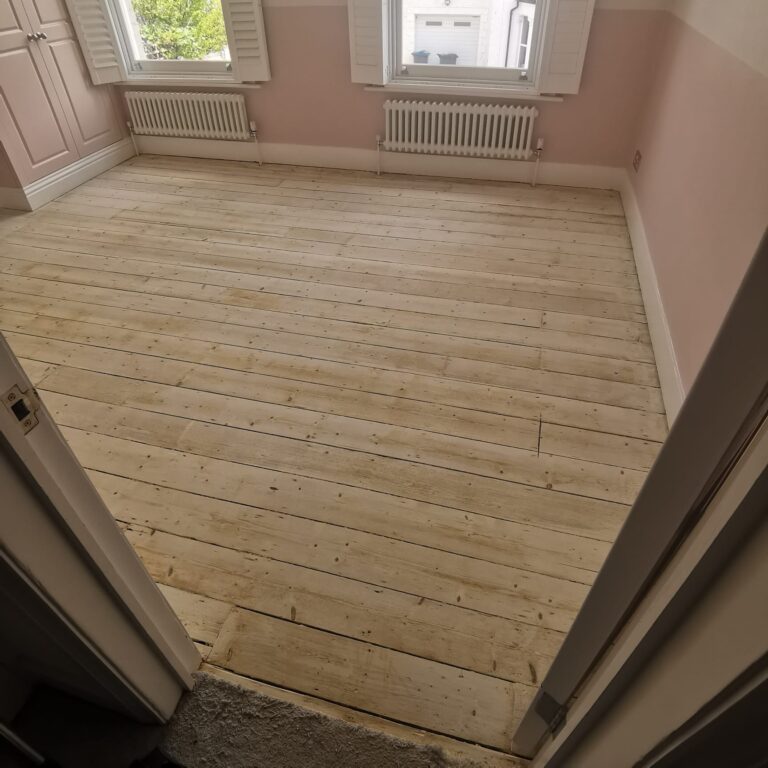
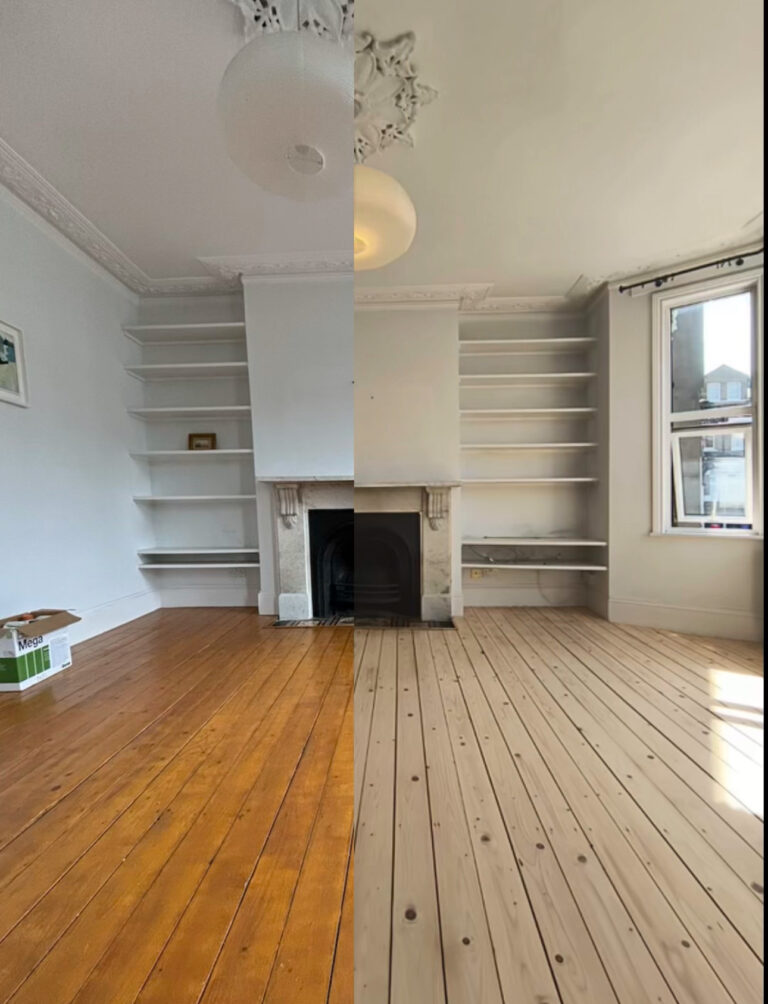
The process starts with having the right tools! Knowing which belt sander to use, which finishing sander, which dust extractors, which edge sander and what products to apply to what wood species will all dictate the outcome.
Quality machinery and products combined with experience yield the perfect finished floors. Floors which attract the compliments from those family members or friends, even the ones with the most judgy stares!
The process starts with ensuring the flooring is clear of all nails or staple pins (in case you have just pulled up carpets). The nails must be hammered into the floor to be made flush with the surface whilst the staples must be removed completely. Whilst this is very time consuming and laborious, it is essential for the safety of the machinery you are using. The sandpaper loaded onto heavy duty belt sanders will simply tear away should it encounter a nail. For contact, the belt on these belt sanders spin at around 2000 spins/revolutions per minute. This means a nail will quickly abrade away the sandpaper! What’s worse is the edge sander – this can quickly suck in loose nails which will shred away the internal pulleys and belts – very costly! Now that the floor is clear of nails, give it a quick hoover to remove any dust. Removing the dust is critical as it ensures you are running the sandpaper over the floor and not the dust!
You are now ready to start the sanding.
Using the belt sander’s pin, unlock the side door of the belt sander and insert the pin into the drum. This lowers the drum allowing you to insert the sandpaper in. what sandpaper should I start sanding my floors with? Well, this entirely depends on the condition of the wood, what product/material the previous owners put on the wood and what you are trying to achieve. A professional sanding technicians’ primary goal is stripping the previous sealant (previous varnish/oi/lacquer) off while minimising how much wood the sand off in the process. You must however start with a coarse grit. This ensures you properly remove the existing sealant but also flatten the floor to make it nice and level. This is normally between 24 and 40 grit sandpaper. How do you use a belt sander to sand wooden floors? Well, why not read our blog post on this! You will initially sand at 45 degrees to the floorboards. Why? This flattens the floorboards (in case the sides of boards have started to cup and lift due to water damage) and also makes the sandpaper more aggressive and effective in removing the previous sealant. This will create deep scratches in the flooring. Don’t stress! To remove these scratches, you will sand now with the grain of the wood (sand in the direction of the floorboards).
Now that the main flooring area has been cleared of the previous sealant, we need to use a medium grit (60 to 80 grit) sandpaper to smooth the floor. The purpose of this is to remove the scratches created by the first coarser grit.
We can now also start working on the edges. This small but mighty machine is what you will use to sand right up to your skirting boards. The sandpaper sequence will be the same as the one you use on the belt sander. The key with the edge sander is to remember to let the edger do the work for you! Don’t push the machine into the floor, you simply let it glide across the flooring. This is arguably the most labour-intensive part of the sanding process. Another often overlooked fact is that the edge sander is the biggest dust creator in the sanding process. Make sure to use a proper HEPA (High Efficiency Particulate Arrestor) dust extractor. This makes a world of a difference to the sanding experience and the indoor health! Work the edge sanding from the coarse grit (24 to 40 grit), to a medium grit (60-80 grit) and finally a finer grit (120 grit).
Once this is complete, we run a finer grit (100 to 120 grit) over the main area of the floor, all the way up to the edges. This can be run on a belt sander or a finishing sander. The benefit of finishing sanders is that are the gold standard at getting the floor picture perfect. This is what the pros use to get that professional grade finish. Make sure the edges are blended into the main area as otherwise you will be left with a picture frame like border around the room!
What type of sandpaper should I use to sand my floors?
Sandpaper, much like humans, comes in all different shapes, colours and sizes – and we love them all! For belt sanding, you can stick with zirconia (blue) sandpaper as this is the industry standard and will get you through most jobs. A more aggressive sandpaper would be ceramic sandpaper (purple) – this is great at removing the more stubborn coatings on flooring. The type of sandpaper to be used depends on the stage of sanding and what sealant you are intending to apply.
How do I know which sandpaper grit to sand my floors up to?
This depends on what you want the final finished product to be. If you are going for a natural look, you will be most likely interested in applying a clear lacquer. For this you can sand up to 120 grit. For an oil/stain the final grit will depend on the colour and type of oil. To make a coloured oil/stain more intense in colour you would stop sanding around 120 grit to keep the pores of the wood open, allowing them to absorb more stain/oil. If you sanded up to 150 or 180 grit, this would close the pores of the wood more meaning they would absorb less colour. The choice is entirely yours, but as a company, we would always lay some samples of different sealants for you to consider.
Overall, sanding and refinishing your hardwood floors is a process which requires skill, dexterity and patience. Having the proper tools and products are instrumental in delivering that photo finish flooring.